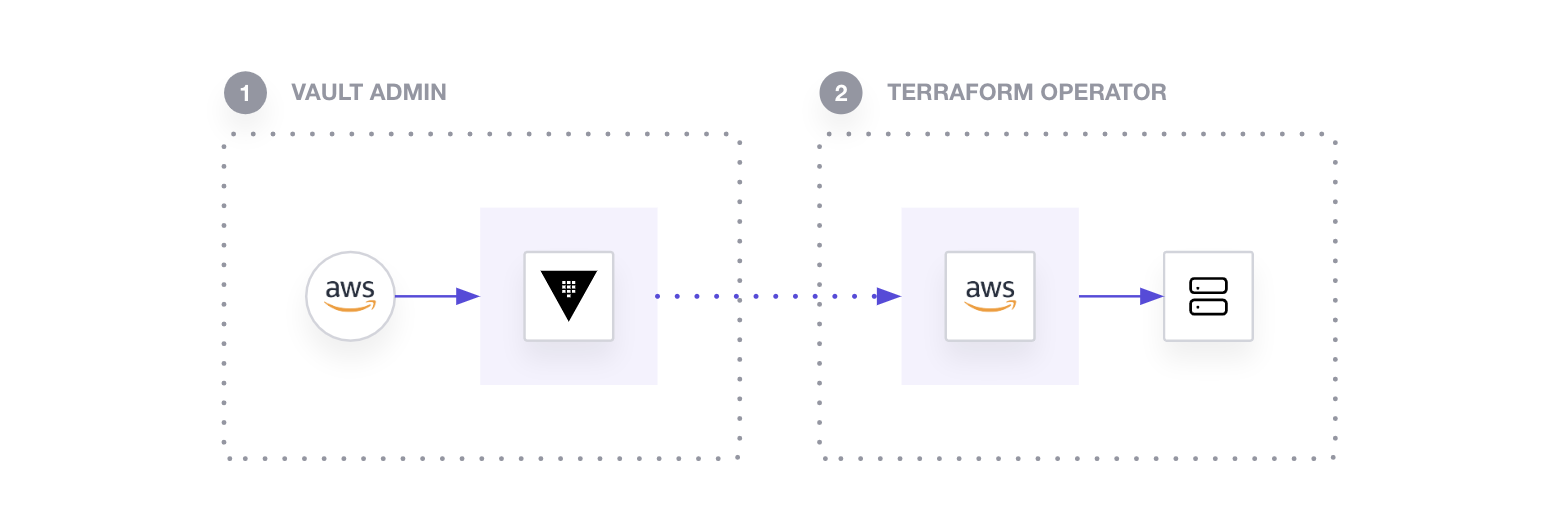
Handling sensitive information like API keys, credentials, and tokens is one of the biggest challenges when managing cloud infrastructure with Terraform. Without proper precautions, secrets can end up in plaintext in state files or source code, exposing them to potential risks.
In this blog, we’ll explore how to integrate HashiCorp Vault with Terraform for securely managing sensitive information. We’ll walk through a step-by-step guide, provide real-world examples, and share best practices.
Challenges in Managing Sensitive Information
Sensitive data in Terraform configurations, such as API keys and tokens, can inadvertently be exposed if not handled securely. Common issues include:
Plaintext in State Files: Terraform state files may store sensitive data in plaintext, risking exposure if not secured.
Hard-Coded Secrets: Including sensitive data directly in Terraform configurations makes them vulnerable to leaks.
Solution: HashiCorp Vault provides a secure and dynamic way to manage secrets. Integrating Vault with Terraform helps protect sensitive data while maintaining streamlined workflows.
Setting Up HashiCorp Vault with Terraform
In this section, we will walk through the steps for securely integrating Vault with Terraform.
1. Setting Up HashiCorp Vault
Install Vault: Follow the installation guide to install Vault on your machine.
Start Vault Server: Start Vault in development mode (for testing purposes):
vault server -dev
Set the Vault Address: Set the Vault address:
export VAULT_ADDR=http://0.0.0.0:8200
Access vault in the browser using the token available in CLI


Create a Key-Value secret

2. Enable AppRole Authentication
Run the following command to enable the AppRole authentication method:
vault auth enable approleThis command tells Vault to enable the AppRole authentication method.
Create an AppRole:
We need to create policy first,
```bash vault policy write terraform - <<EOF path "*" { capabilities = ["list", "read"] }
path "secrets/data/*" { capabilities = ["create", "read", "update", "delete", "list"] }
path "kv/data/*" { capabilities = ["create", "read", "update", "delete", "list"] }
path "secret/data/*" { capabilities = ["create", "read", "update", "delete", "list"] }
path "auth/token/create" { capabilities = ["create", "read", "update", "list"] } EOF

Now you'll need to create an AppRole with appropriate policies and configure its authentication settings. Here are the steps to create an AppRole:
```bash
vault write auth/approle/role/terraform \
secret_id_ttl=10m \
token_num_uses=10 \
token_ttl=20m \
token_max_ttl=30m \
secret_id_num_uses=40 \
token_policies=terraform

Generate Role ID and Secret ID:
After creating the AppRole, you need to generate a Role ID and Secret ID pair. The Role ID is a static identifier, while the Secret ID is a dynamic credential.
a. Generate Role ID:
You can retrieve the Role ID using the Vault CLI:
vault read auth/approle/role/my-approle/role-idSave the Role ID for use in your Terraform configuration.
b. Generate Secret ID:
To generate a Secret ID, you can use the following command:
vault write -f auth/approle/role/my-approle/secret-idThis command generates a Secret ID and provides it in the response. Save the Secret ID securely, as it will be used for Terraform authentication.

Configuring Terraform with Vault
Next, let’s configure Terraform to authenticate to Vault and retrieve secrets.
Install Terraform: If you don’t have Terraform installed, follow the installation guide on the Terraform website.
Add the Vault Provider
In your Terraform configuration file (main.tf), define the Vault provider:
  provider "vault" {
    address = "http://127.0.0.1:8200"
    auth_login {
      path = "auth/approle/login"
      parameters = {
        role_id   = "<role_id>"
        secret_id = "<secret_id>"
      }
    }
  }
Fetch Secrets
Use the Vault provider to fetch secrets dynamically:
  data "vault_kv_secret_v2" "example" {
    mount = "kv"
    name  = "my-secret"
  }
Use Secrets in Resources
Integrate fetched secrets into your Terraform resources:
 resource "aws_instance" "example" {
   ami           = "ami-0a123456b7890cdef"
   instance_type = "t2.micro"

   tags = {
     Name   = "ExampleInstance"
     Secret = data.vault_kv_secret_v2.example.data["username"]
   }
 }
Best Practices
Avoid Hard-Coded Secrets: Always retrieve secrets dynamically from Vault.
Leverage Vault Policies: Define granular access controls to minimize exposure.
Environment Variables: Store sensitive configurations (e.g., Vault address) in environment variables instead of Terraform files.
Dynamic Secrets: Use Vault’s dynamic secrets for services like databases.
Rotate Secrets Regularly: Implement periodic rotation of Vault secrets to enhance security.
Terraform Commands You’ll Use
Initialize Project:
terraform initValidate Syntax:
terraform validateApply Changes:
terraform applyClean Up Resources:
terraform destroy

Resources created:

Conclusion
Integrating HashiCorp Vault with Terraform simplifies the secure management of sensitive data, reducing the risk of exposure. By following the steps and best practices outlined in this guide, you can enhance your infrastructure’s security while maintaining an efficient workflow.
What are your thoughts on integrating Vault with Terraform?
Let me know in the comments below! Share your experiences or tips for using Vault in Terraform workflows. Let’s learn together!

